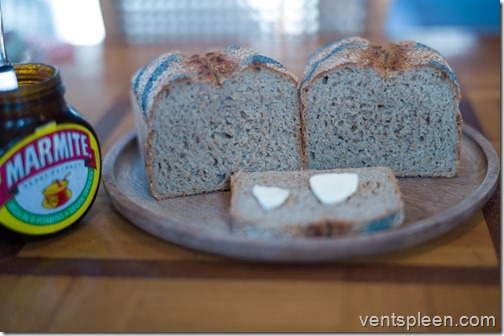
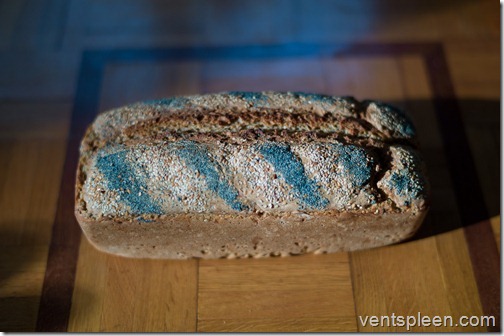
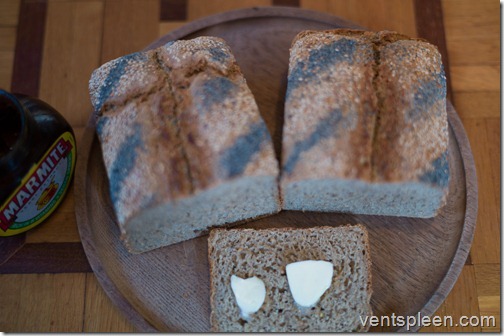
Making bread is extremely satisfying and there is nothing quite like warm fresh bread with butter and Marmite. It never gets old. Also there’s much less packaging and no plastic either. Further more you save time and don’t have to pollute the environment driving to the supermarket. It’s a win win situation.
Now that we are in the grip of a nasty virus and confined to barracks for the foreseeable future it makes sense to bake your own bread and then you do not need to go out which is helpful to slow the spread of the virus. Even though I do not feel that I fully understand why I can bake such nice loaves the time has come to share what I have learned so that you too can start baking your own bread the easy way without kneading.
I’m no scientist but I have approached this bread making lark as methodically as I can. It’s been nearly three years since I started making a few loaves a week and I try to change only one thing at a time and be consistent in all regards when making the bread. It’s the only way that you can learn the effects of the many variables. It might only be flour, water and yeast with a bit of salt but it’s amazing how one small change can affect a loaf.
This method uses a baking tin. I haven’t yet got around to trying it without but I like the uniform shape which fits nicely in our toaster.
You’ll need a big bowl, some flour, powdered baker’s yeast, salt and a nice wooden spoon for mixing.
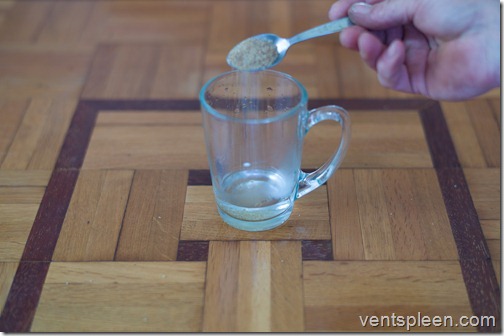
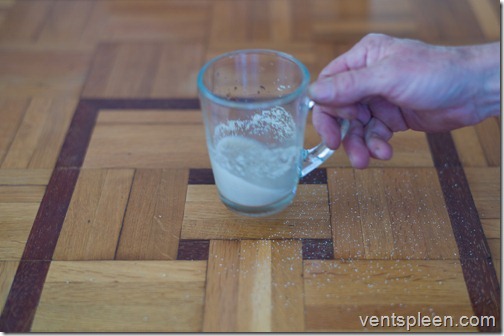
Pre warm a mug with the hottest water that comes out your tap and put about 10 mm of water in it.
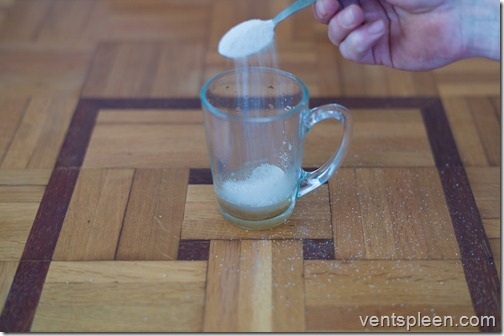
Add a level tea spoon of sugar to the water. Do not stir with a metal spoon, just swirl the sugar around in the mug.
Add a teaspoon or packet of dried yeast.
Swirl, don’t stir. Leave to one side.
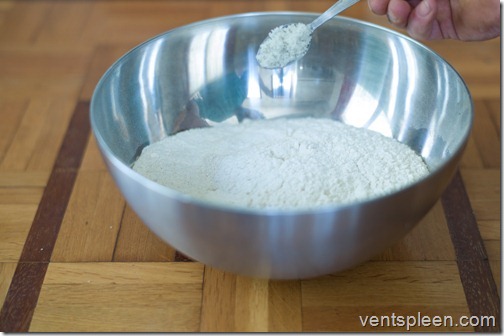
Put your flour in the bowl and add two teaspoons of salt.
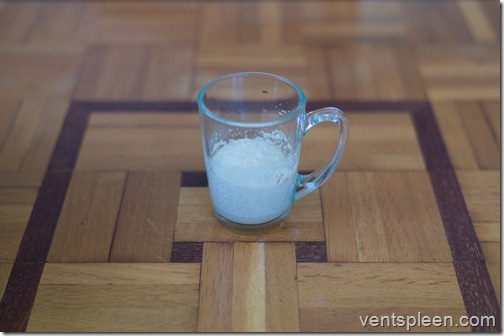
Wait until the yeast has doubled in size in the mug.
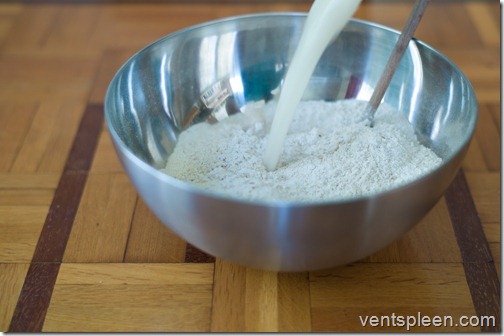
Run the hot tap until it is as hot as it will go and fill up the mug with the yeast in it. Throw that on the flour and repeat with hot water until you have a nice smooth mix runny enough that the dough is easy to mix.
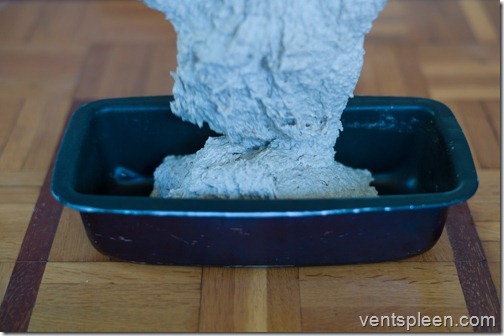
Pour in to the bread tin.
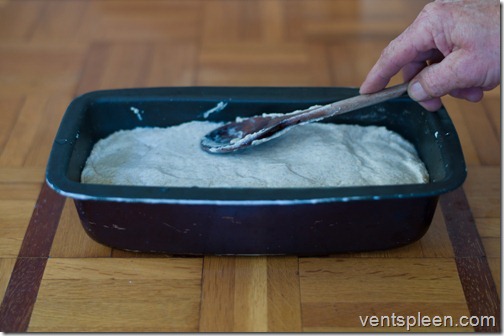
Press the dough smooth with a wetted wooden spoon.
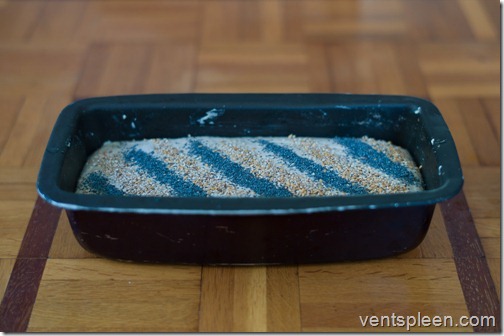
Add seeds if you want.
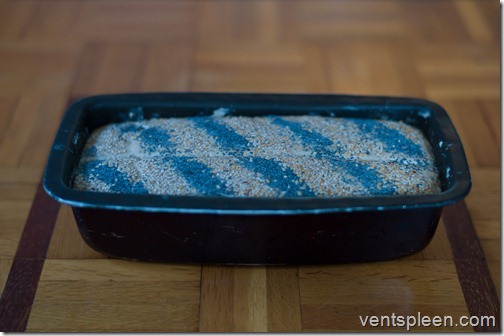
Let it rise.
When the loaf has risen about 50 – 75% of its original size put it into an oven on the middle shelf at 200 degrees for about 35 minutes.
That’s it. No kneading, nothing.
Sounds too simple doesn’t it? What I described above takes less than five minutes to achieve and what’s more you don’t even get your hands dirty which not only makes it easier but quicker and cleaner.
To help you understand the process, let me elaborate on the details. Having made over 300 loaves I tend to do more or less the same thing every time and have slowly evolved this technique.
The use of very hot water is surely controversial but what can I tell you, it works for me. I find that the yeast in the mug rises better and faster if you do not stir the mixture with a metal spoon. Simply swirl the mix around. The level tea spoon of sugar is added to the water to give the yeast something to get started on.
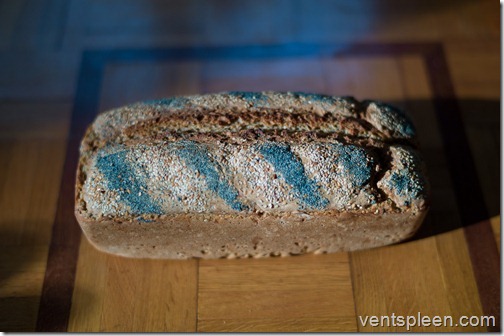
This loaf was made using 700 grams of flour to fit nicely in a bread tin about 28 cms long, 12 cms wide and 8 cms deep. It is 400 gms of rye, 200 gms of wholemeal and 100 gms of plain white flour. I usually add some seeds, in this loaf, I only added some sesame seeds but I often use poppy, sunflower and lin as well. But be aware that putting seeds in the mix will stop the loaf rising so well.
Rye flour tends to make quite a heavy and dense loaf that does not rise much. I love the taste of a rye loaf but I like a light fluffy loaf too so it will always be a compromise between taste and fluffyness. Flour comes in different grades but I’m not going to get into any of that. Flour is flour. Some will make fluffier loaves than others. Again, experiment to find out what you like.
The mix I make is fairly runny. If it is too stiff it is harder to mix in the bowl. The mix can be quite loose and you’ll still get a nice loaf. It is also easier to pour into the bread tin. I scape the bowl out with a silicone spatula which gets almost all of the mix from the bowl which reduces waste and also makes washing up easier. A quick word on that. Wash the bowl and implements as soon as you can, it’s very easy to do at this stage and very hard to do when the flour has dried!
Once the dough is in the bread tin, take a wet wooden spoon and press it down so it is even in the tin. Don’t worry about getting the top of the loaf too wet. I find that the wetter the surface, the better the loaf rises. At this stage I usually add some more seeds to the top and press them in with the spatula. If you don’t do this, the seeds will fall off when you cut the bread.
Using the spatula I cut the dough in half along the length of the loaf. This way, when the loaf rises in the oven it cracks open in the middle and makes for a more aesthetic loaf but you can just leave it and the loaf will split where it wants.
Rising. It seems to me that the trick to baking a good loaf without kneading is to get the timing just right. The dough will rise all by itself in a warm kitchen. It should take about an hour but this can vary depending on the temperature. The most important thing to understand is that the bread does some rising before it goes in the oven but does much more when it goes in but it will take about an hour to rise enough to be ready for baking.
If you don’t let the loaf rise enough before you put it in the oven it will make for a denser and smaller loaf. If you wait too long the loaf will rise in the oven but then sag. It’s hard to say just how long you’ll need, this really comes with experience but it’s fair to say that so long as the dough has increased in size about 50 – 75% that’s about right.
Some say you should cover a loaf as it is rising to keep the top moist but every time I tried it, the cloth drooped down and stuck to the rising dough making a right mess. So I don’t bother any more. It seems to make very little difference.
Some also say you need a hot oven for bread. This is not my experience. I have messed about with various temperatures but the most consistent loaf has always come from a pre heated 200 degree oven. I always place the loaf as centrally in the oven as I can. I have made very successful loaves in the most primitive of ovens and the most sophisticated and I can tell you that any hot box will bake bread.
Once the dough has risen enough put the tin in the oven for about 35 minutes but again it might take longer depending on your oven. You can always take it out sooner and have a look at it. A well cooked loaf will be well browned and fall out of the baking tin. If it is stuck it needs more time in the oven.
Put it on a drying rack or even standing up on edge to cool. If you leave it on a smooth surface the crust will go soggy. Resist the temptation to eat it straight away and wait a while before cutting or you risk tearing the loaf.
And that is all there is to it. It takes way less than 5 minutes to mix and prepare a loaf like this. You do have to wait about an hour before you can bake it and another half an hour or so after that in the oven but there’s very little work. I am sure I can bake a loaf quicker than it takes most people to drive to the supermarket, park, shop, drive home, park etc and it costs less when you bake your own bread.
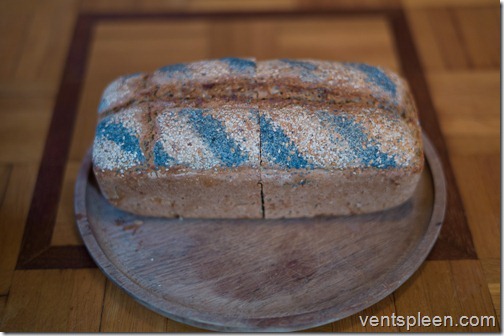
Instead of cutting a slice off one end of the loaf, instead, cut the loaf in half. Then cut slices from each half so that when the halves are placed together they fit well and thus keep the loaf fresh. It took me months to retrain my brain to do this!
As you can see from the finished loaf, it rose well and the inside is nicely aerated especially for what is a rye heavy loaf. The crust isn’t too thick and is nice and crusty. the bread tin is so clean it just needs a wipe before the next use.
A friend who makes bread with live yeast told me that although my loaves were good they would not last a week and would soon go stale. I assured him they never last a week as they are usually demolished in a day or two so it’s not an issue!
No doubt there is a reason why bakers for centuries have kneaded their dough but I prefer my method. It’s fast and clean and tastes delicious. So I am sorry if I offend any traditional bakers with my ‘cheating’ loaf but it works. With bread making this easy what is your excuse for not trying?
